
The first time you run east-tec SafeBit you will be prompted to create your first safe. Later you can create additional safes to fit your needs for security, portability, risk distribution, organize your files in types of information.
To create a Safe on follow these steps:
1. Select the action: New Safe from the main page.
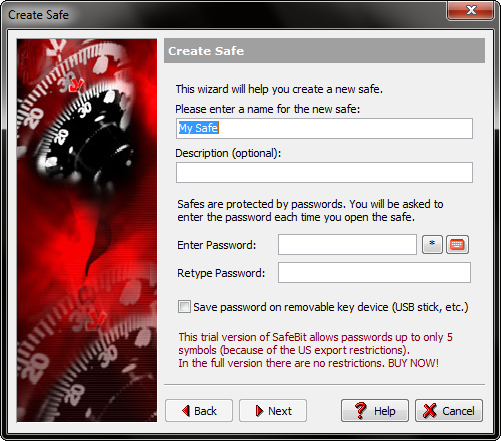
2. Enter a name and password for the Safe.
-
Fill in the name for the Safe in the first field. You will notice that east-tec SafeBit assigns a default name for every safe, of course you can change this name. The name field is a required one. You can not create a safe without a name. This name will identify your safe in the list of safes.
-
Description: Fill in a description of the current safe. This field is optional. If you are working in a friendly environment you might want to give a description for the safe, to remind you what type of information you put in this safe.
-
Password: Type in the password for the safe you want to create. Click * button to make the password visible. Confirm the password by retyping it.
Warning! If you forget the password of a Safe, you will never be able to access it or even to destroy it.
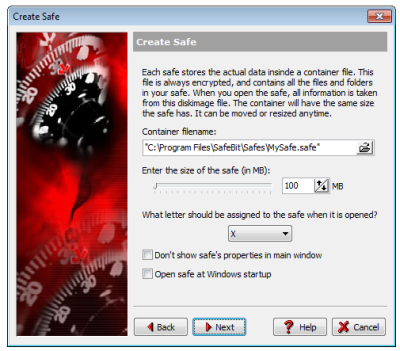
3. Enter Properties (location of Container File, size and letter).
Every safe has a Container File. In this section you may choose a different name and location for the Container File, the size of the safe, and assigned letter.
-
Choose a name and location for the Container File. By default the location is:
C:\Program Files\SafeBit\Safes\NameOfTheSafe.safeWe recommend this default name and location. The name of the Container File is by default the name of the safe. You can change the name and the location of the Container File. Use the browse button on the right to choose a different location for the Container File. Note: We recommend you to keep the Safe in the default container folder for better security. -
Select the size of the safe by dragging the size bar or by entering a value in MBytes in the box.
-
Select the letter to be assigned to the Safe (when the safe is opened).
-
By marking the checkbox in the bottom of the window, Safe's characteristics won't be displayed in the main window.
-
Click Next to create the Safe.
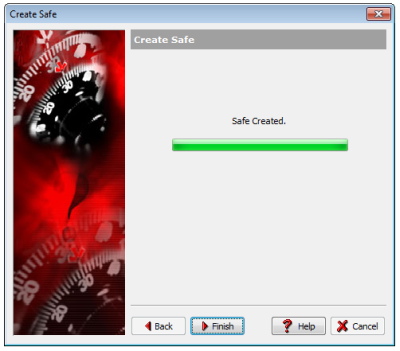
- When the process is completed, click the Finish button to return to the main window. You will notice that the default status of any safe is "closed". Double-Click it to open it.