To create a Custom Sensitive Area, please go through the following steps:
-
Open the Privacy Guard module
-
Choose Advanced
-
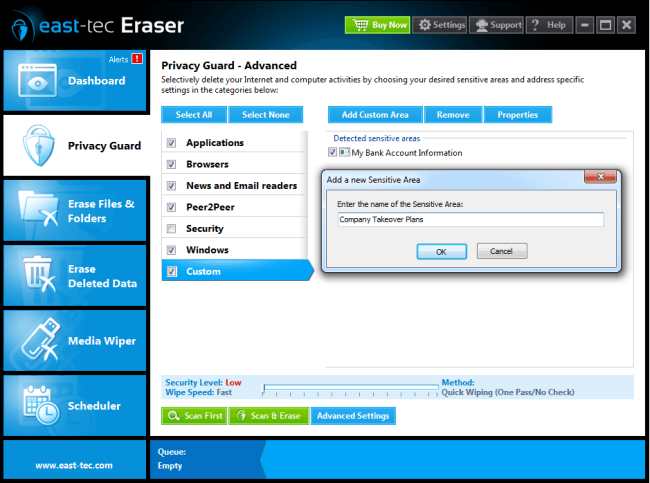
In the Custom page of the Privacy Guard feature, click Add
-
Enter the name of the new sensitive area and then click OK
-
A new window with the list of items contained in the new sensitive area will appear (initially, this list is empty). At this point, you can add new targets to the newly defined sensitive area. To begin adding targets, click the Add button from this window.
-
Another window containing several options will appear, such as I'd like to erase a single file, I'd like to erase some or all files from a folder, I'd like to erase a folder with all its subfolders and files or I'd like to erase registry entries
-
Depending on your choice, follow the instructions from the screen. You may add several targets to the custom sensitive area, by repeating the steps 5 and 6.